Installation guide
The app is currently in an early development phase with very limited functionality and somewhat complex setup process. This is only for testing purposes and not intended for general use.
Sepiana uses semantic versioning
Semantic versioning (often called SemVer) is a versioning scheme that uses a three-part number: MAJOR.MINOR.PATCH (for example, 1.2.3).
- MAJOR version is updated when significant changes are made that may break compatibility with previous versions
- MINOR version is updated when new (backward compatible) functionality is added
- PATCH version is updated when we make bug fixes
System requirements
You need the following
- Windows computer with a decent CPU/GPU
- The app is created with a moderate gaming PC with Nvidia RTX 3060 GPU, so it should run on similar or better hardware.
- Home Assistant instance with real-time data access enabled
The app is created using Unreal Engine 5 and its performance may vary based on your hardware. If your computer can run modern Windows games, it should be able to run the app.
Install the app
Windows
- Download the app the app for your platform
- Extract the downloaded ZIP file to a folder of your choice e.g.
C:\Sepiana- On Windows, you can use the built-in ZIP extraction tool or a third-party tool like 7-Zip.
- Open the extracted folder and verify that you have the following files:
Sepiana.exeexecutable file (Windows)/Enginefolder/Sepianafolder

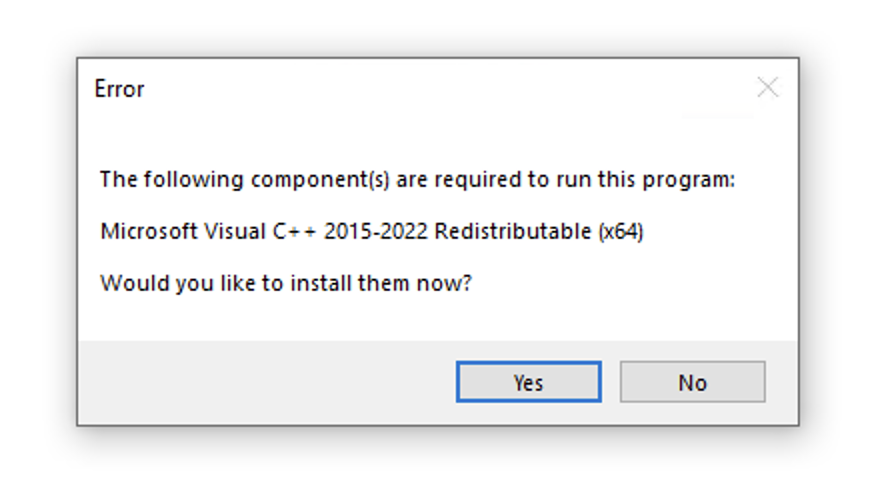
You may be asked to install prerequisites to run the app on Windows
-
Download the example configuration files from the GitHub repository and extract them to the
C:\Sepiana\Configfolder.- Alternatively, you can create your own configuration file from scratch, see the design guide for more information.
- Create a shortcut to the
Sepiana.exefile on your desktop or start menu for mandatory configuration parameters to be set up before running the app.- On Windows, right-click on the
Sepiana.exefile and selectSend to->Desktop (create shortcut). - Edit the shortcut properties to add the
-Config=parameter to the target field, e.g.C:\Sepiana\Sepiana.exe -Config=C:\Sepiana\Config\AtelierDemo.json - This will allow you to run the app with the specified configuration file and you can create as many configurations and shortcuts as you like.
- On Windows, right-click on the
It is highly recommended to setup your own version control and backup system for the configuration files, so that you don’t accidentally lose your work. The app does not have any built-in backup or version control features, so you need to manage your configuration files manually.
Configure the app
The app requires a connection to a Home Assistant instance to display data. You can configure the connection and dashboard visualization settings as a JSON file in the app’s configuration folder. See the design guide for more information on how to create and configure the JSON file.
Setup Home-Assistant to allow access to real-time data
- Install Home Assistant on your server or local machine.
- Home Assistant has the Websocket API available by default, but you need to create a long-lived access token so that the app can connect to your stream.
- Go to your Home Assistant user profile page (click on your user icon in the bottom left corner).
- Go to “Security tab” and scroll down to the “Long-Lived Access Tokens” section.
- Click on “Create Token” and give it a name (e.g., “Sepiana Access Token”).
- Put that token in some safe place, as you will need to copy it to the app’s configuration file later.
- In case of connectivity issues, please check the Home Assistant documentation.
Create Sepiana JSON file
- Create a new JSON file in the app’s configuration folder (e.g.,
C:\Sepiana\Config\MyDashboard.json). - Use the example configuration files from Github as a template or create new file from scratch.
- Learn how to create your own configuration file by following the design guide.
Run the app
Application must be run with the -Config= parameter to specify the configuration file to use. If you don’t specify the configuration file, the app will not be able to connect to Home Assistant and will not display any data.
- Start the app from the shortcut you created earlier, or run the
Sepiana.exefile with the-Config=parameter in the command line.- For example,
C:\Sepiana\Sepiana.exe -Config=C:\Sepiana\Config\AtelierDemo.json
- For example,
